Propper MCP Server
The Propper MCP Server is provided "as is" and "as available" without warranty. You may experience bugs or performance issues, and the feature may change as Propper refines it. By using the MCP Server, you acknowledge you do so at your own discretion and risk. Users should have a "human in the loop" to confirm tool actions and review the accuracy of AI output.
Propper provides a Model Context Protocol (MCP) server that lets Claude interact directly with your Propper workspace. Once connected, Claude can create and send agreements, manage templates, search documents in Locker, and more — all from a conversation.
Prerequisites
- A Claude Pro, Team, or Enterprise account
- A Propper account with an active organization
- Organization admin access on Claude.ai (for the admin setup step)
Step 1: Add the Propper connector (admin)
This step only needs to be done once per Claude organization. If your admin has already added the Propper connector, skip to Step 2.
- Open the Connectors page in your Claude organization settings.
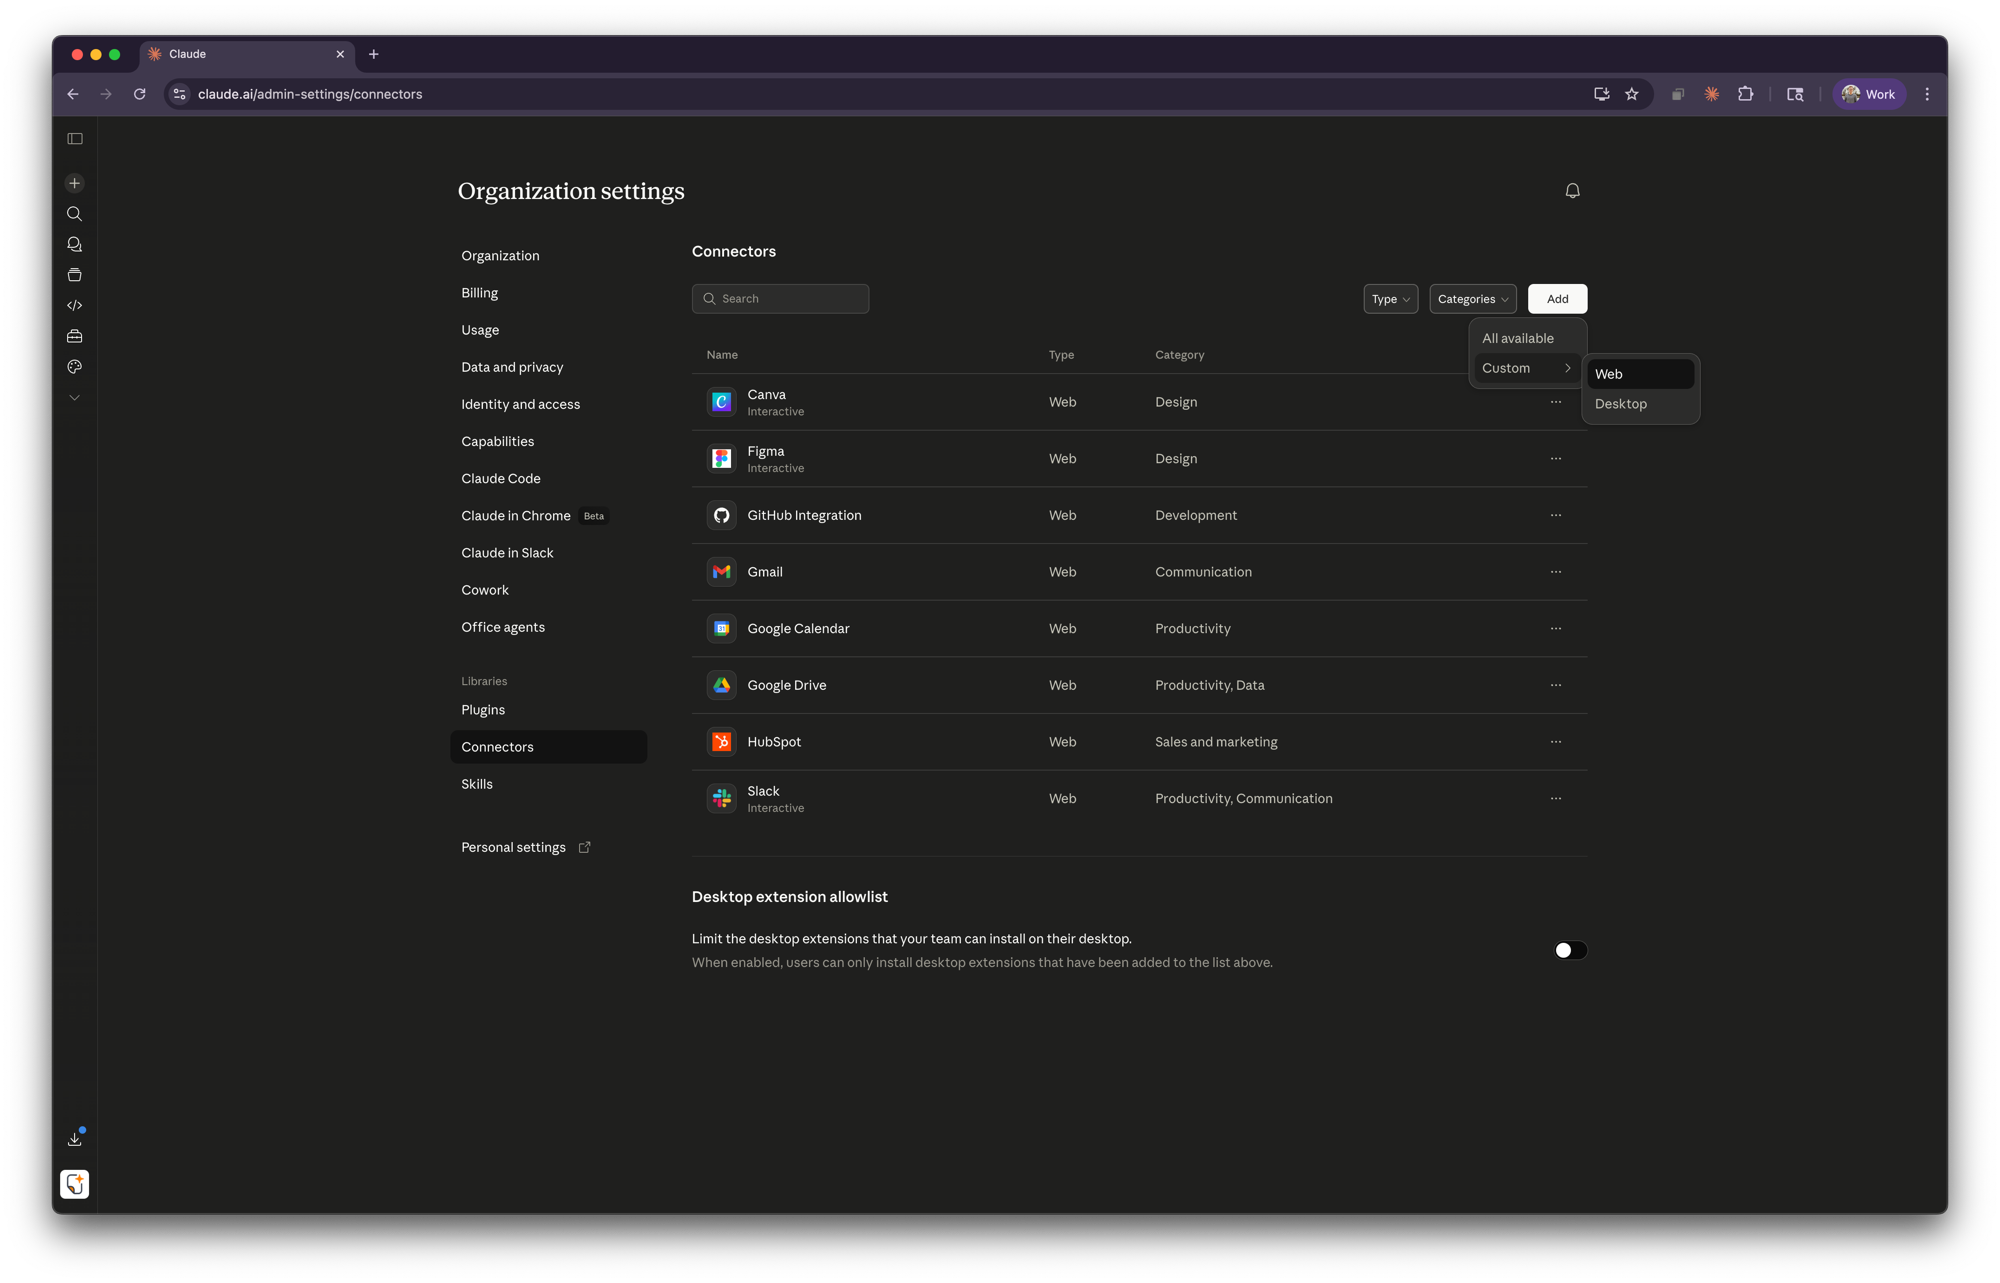
-
Click Add, or go directly to the Add custom connector dialog.
-
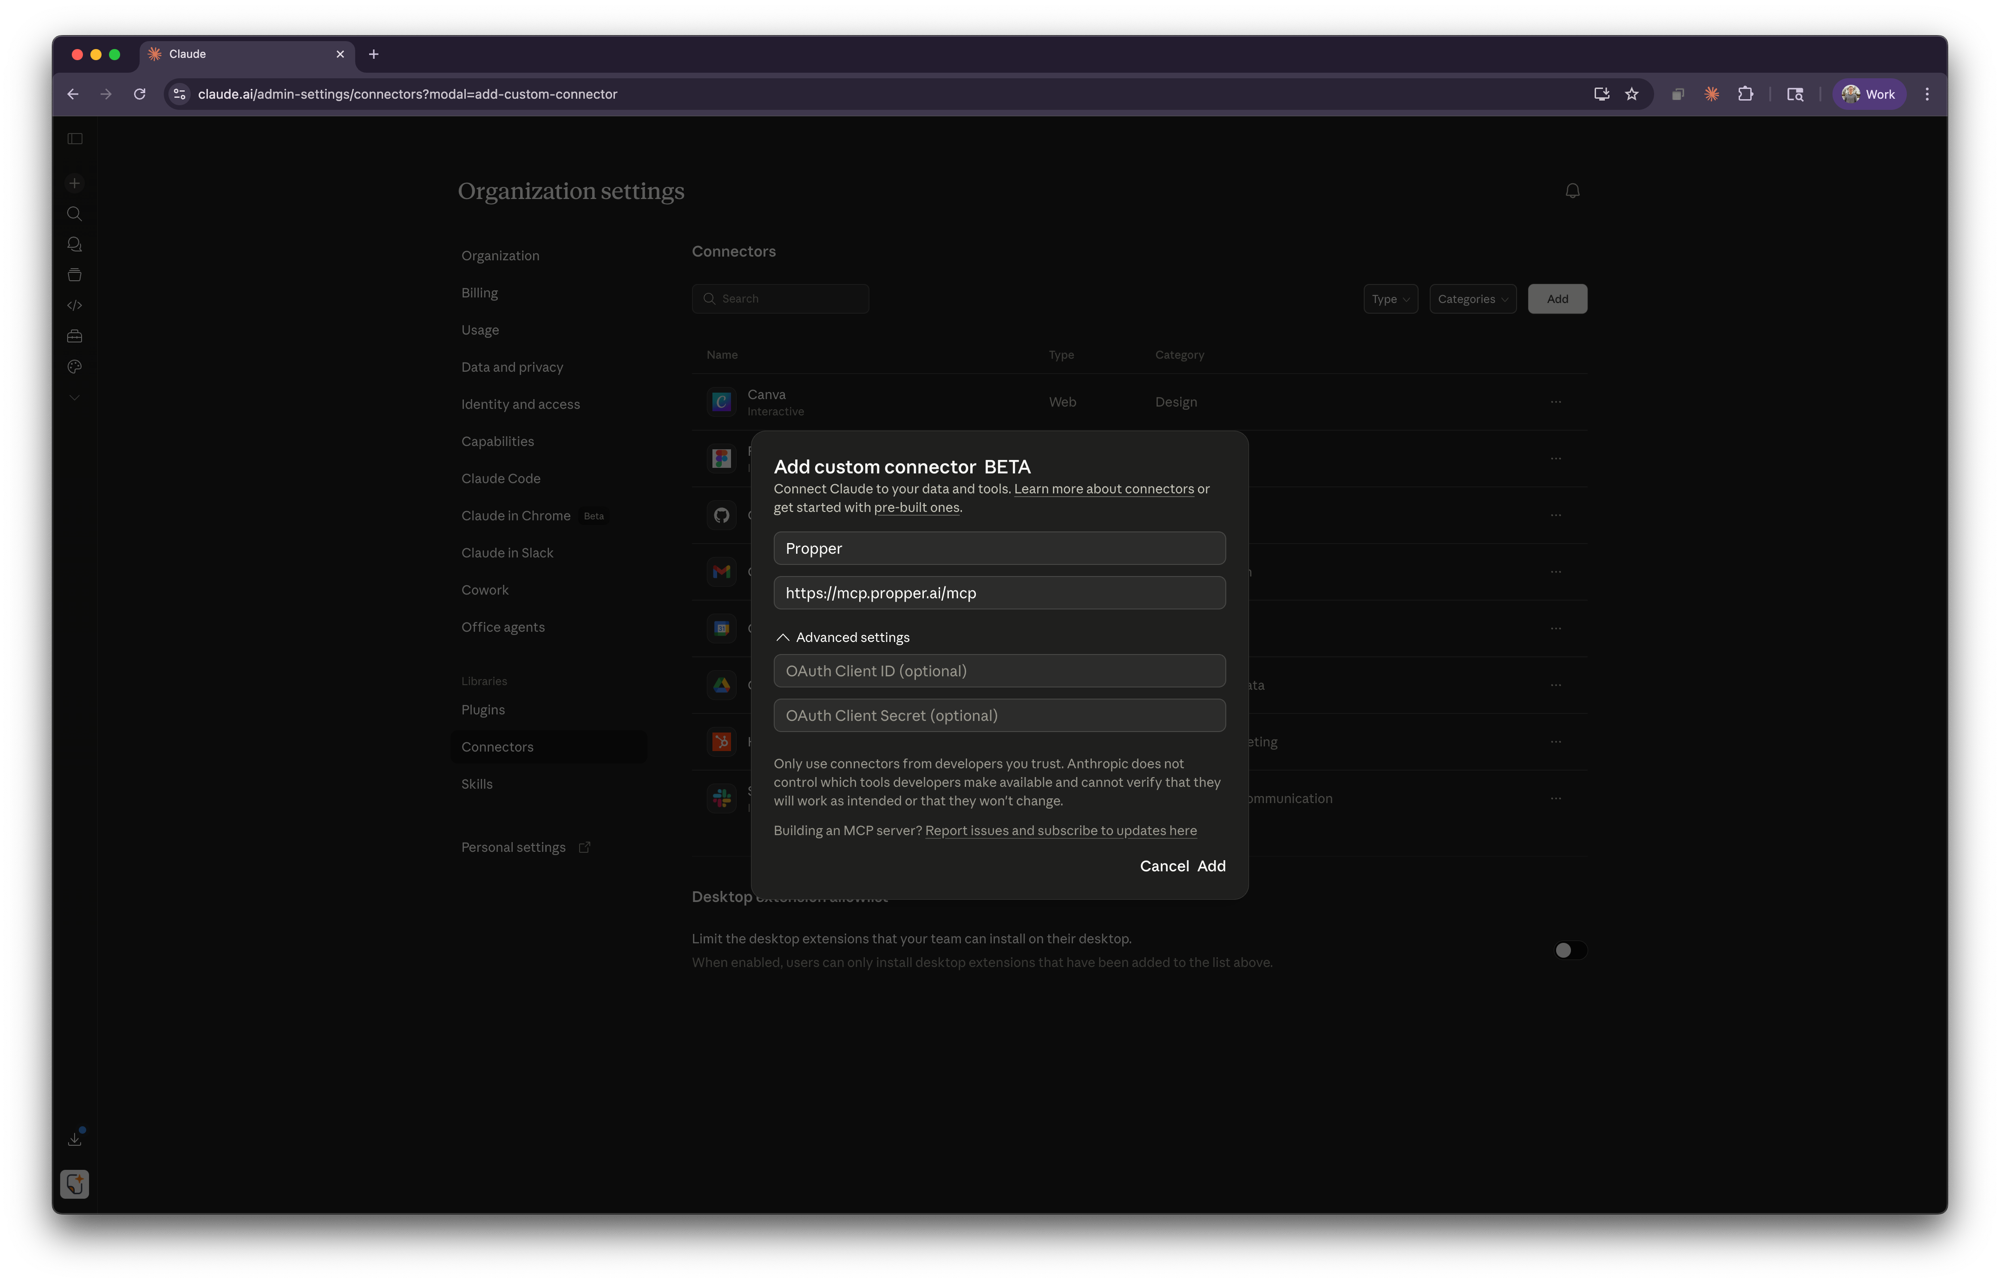
Enter the following details:
- Name:
Propper - URL:
https://mcp.propper.ai/mcp
Optionally, expand Advanced settings to configure OAuth Client ID and Client Secret if your organization requires them. For most setups, leave these blank.
- Name:
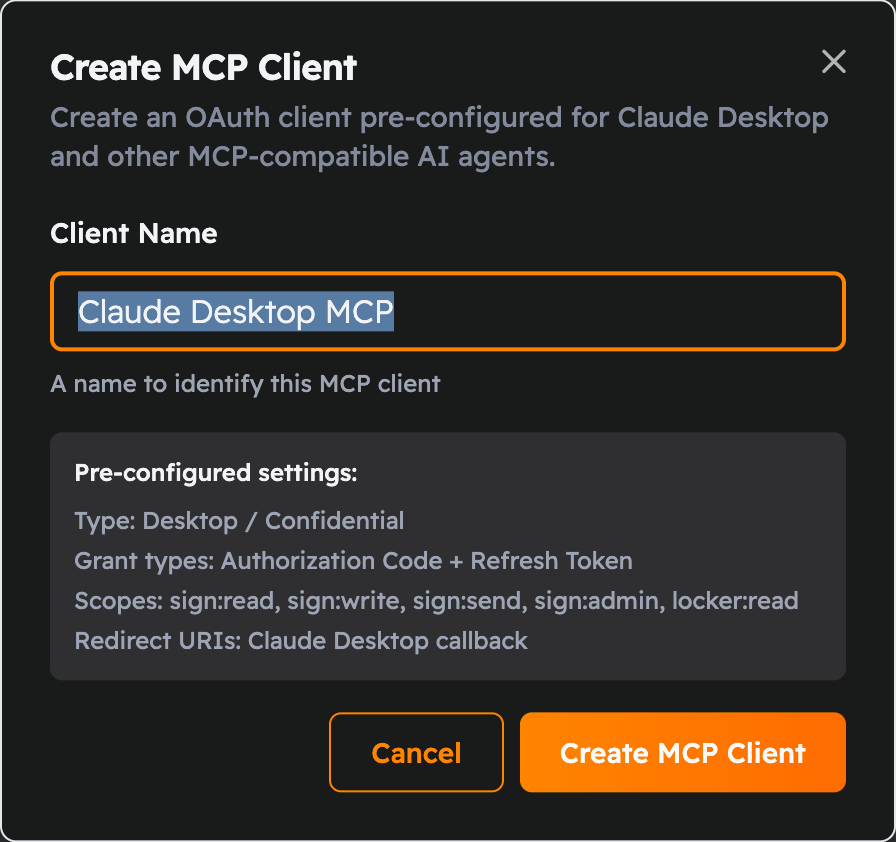
Where to get the Client ID and Secret: if your organization requires a confidential client, create one in Propper first. Go to Settings > OAuth Clients and click Create MCP Client: it comes pre-configured for Claude Desktop with the right scopes. Then copy the generated Client ID and Secret into the connector's Advanced settings above.
- Click Add to save the connector.
Step 2: Connect your account
Each user in your Claude organization connects their own Propper account.
-
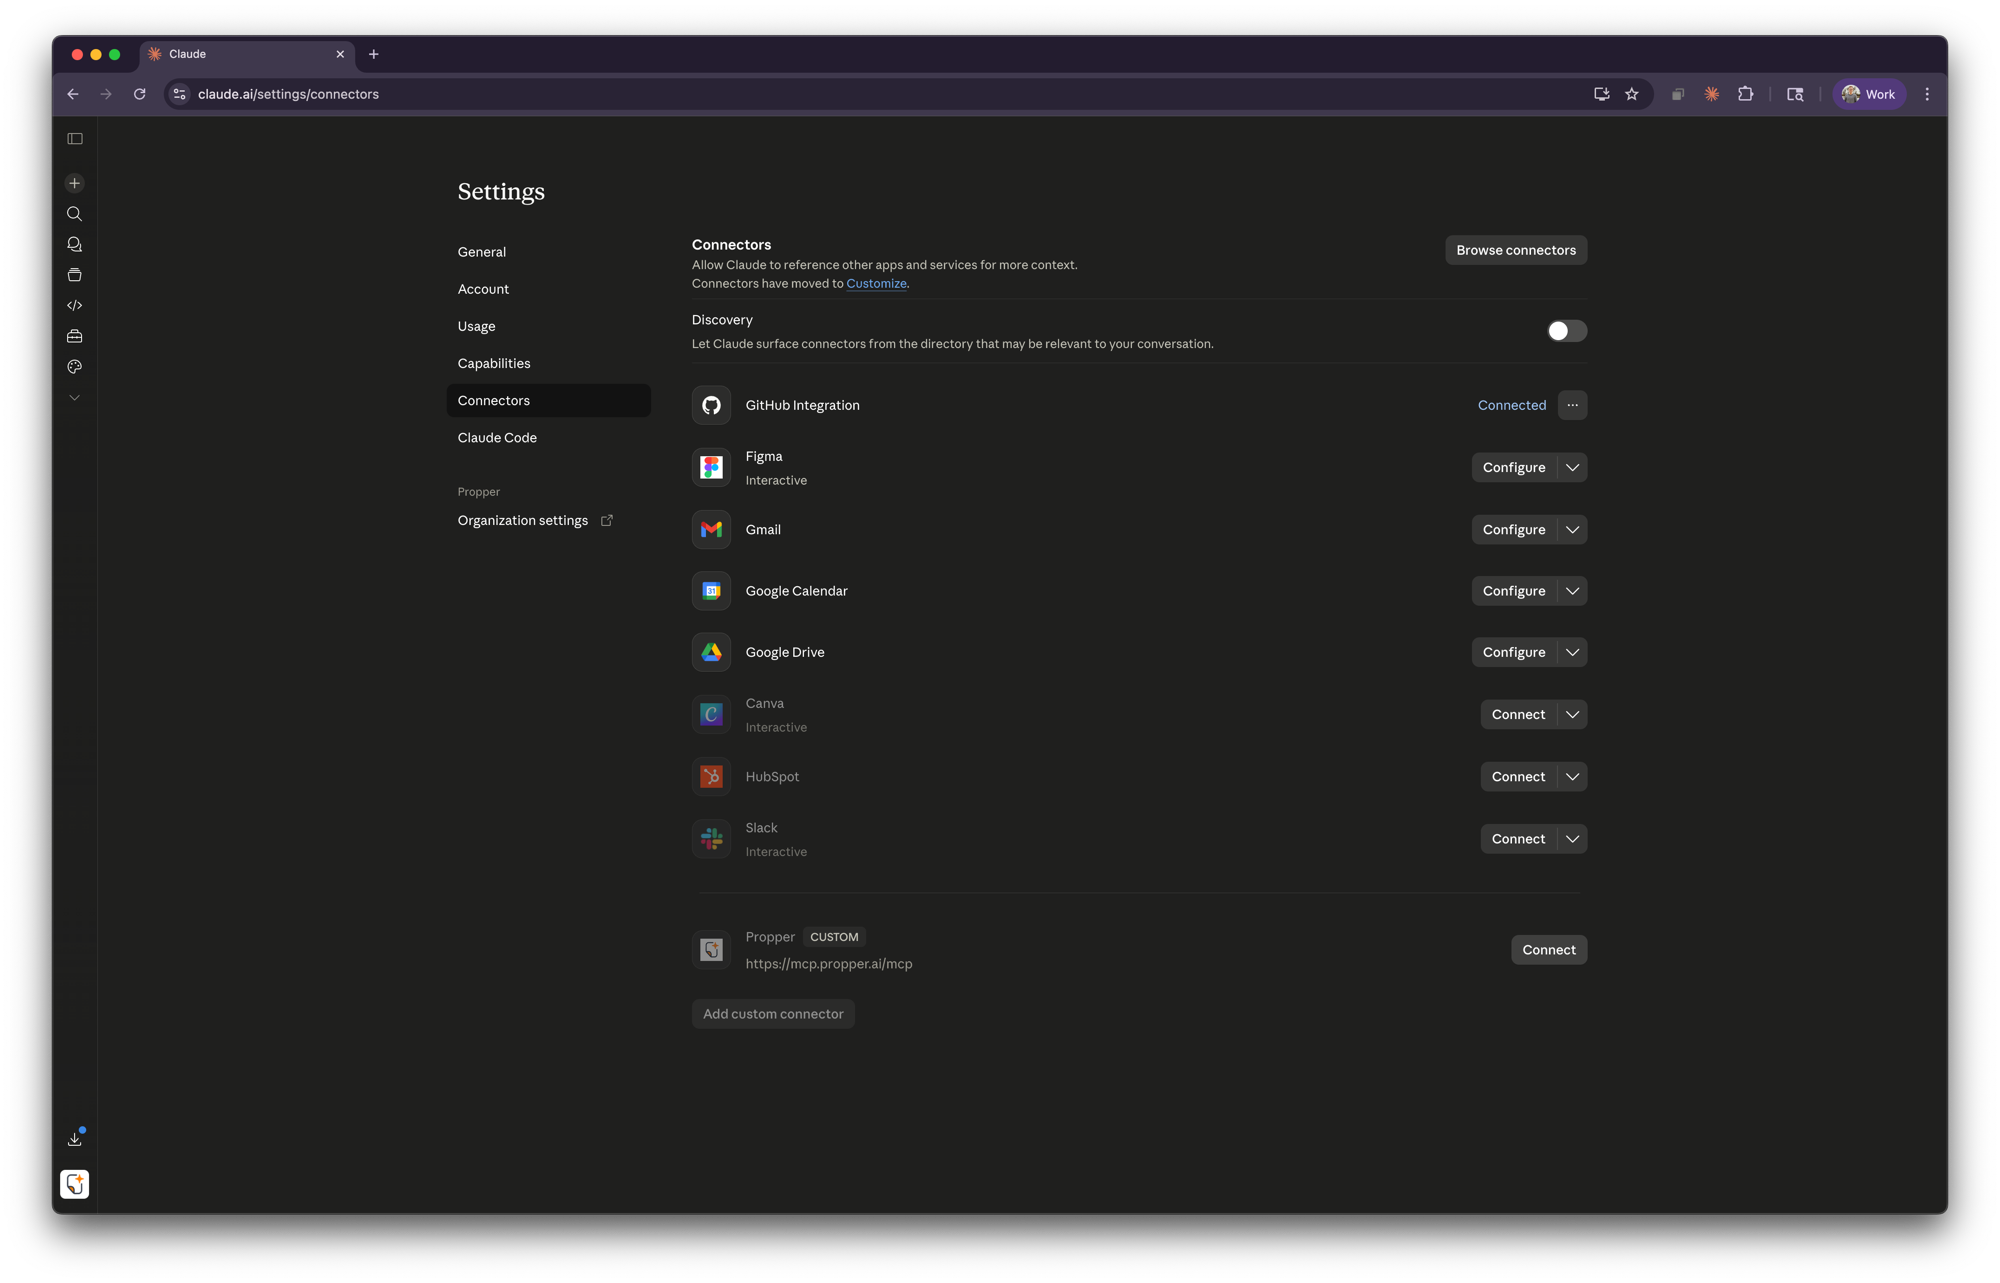
Open the Connectors page in your Claude settings.
-
Scroll down to find the Propper custom connector and click Connect.
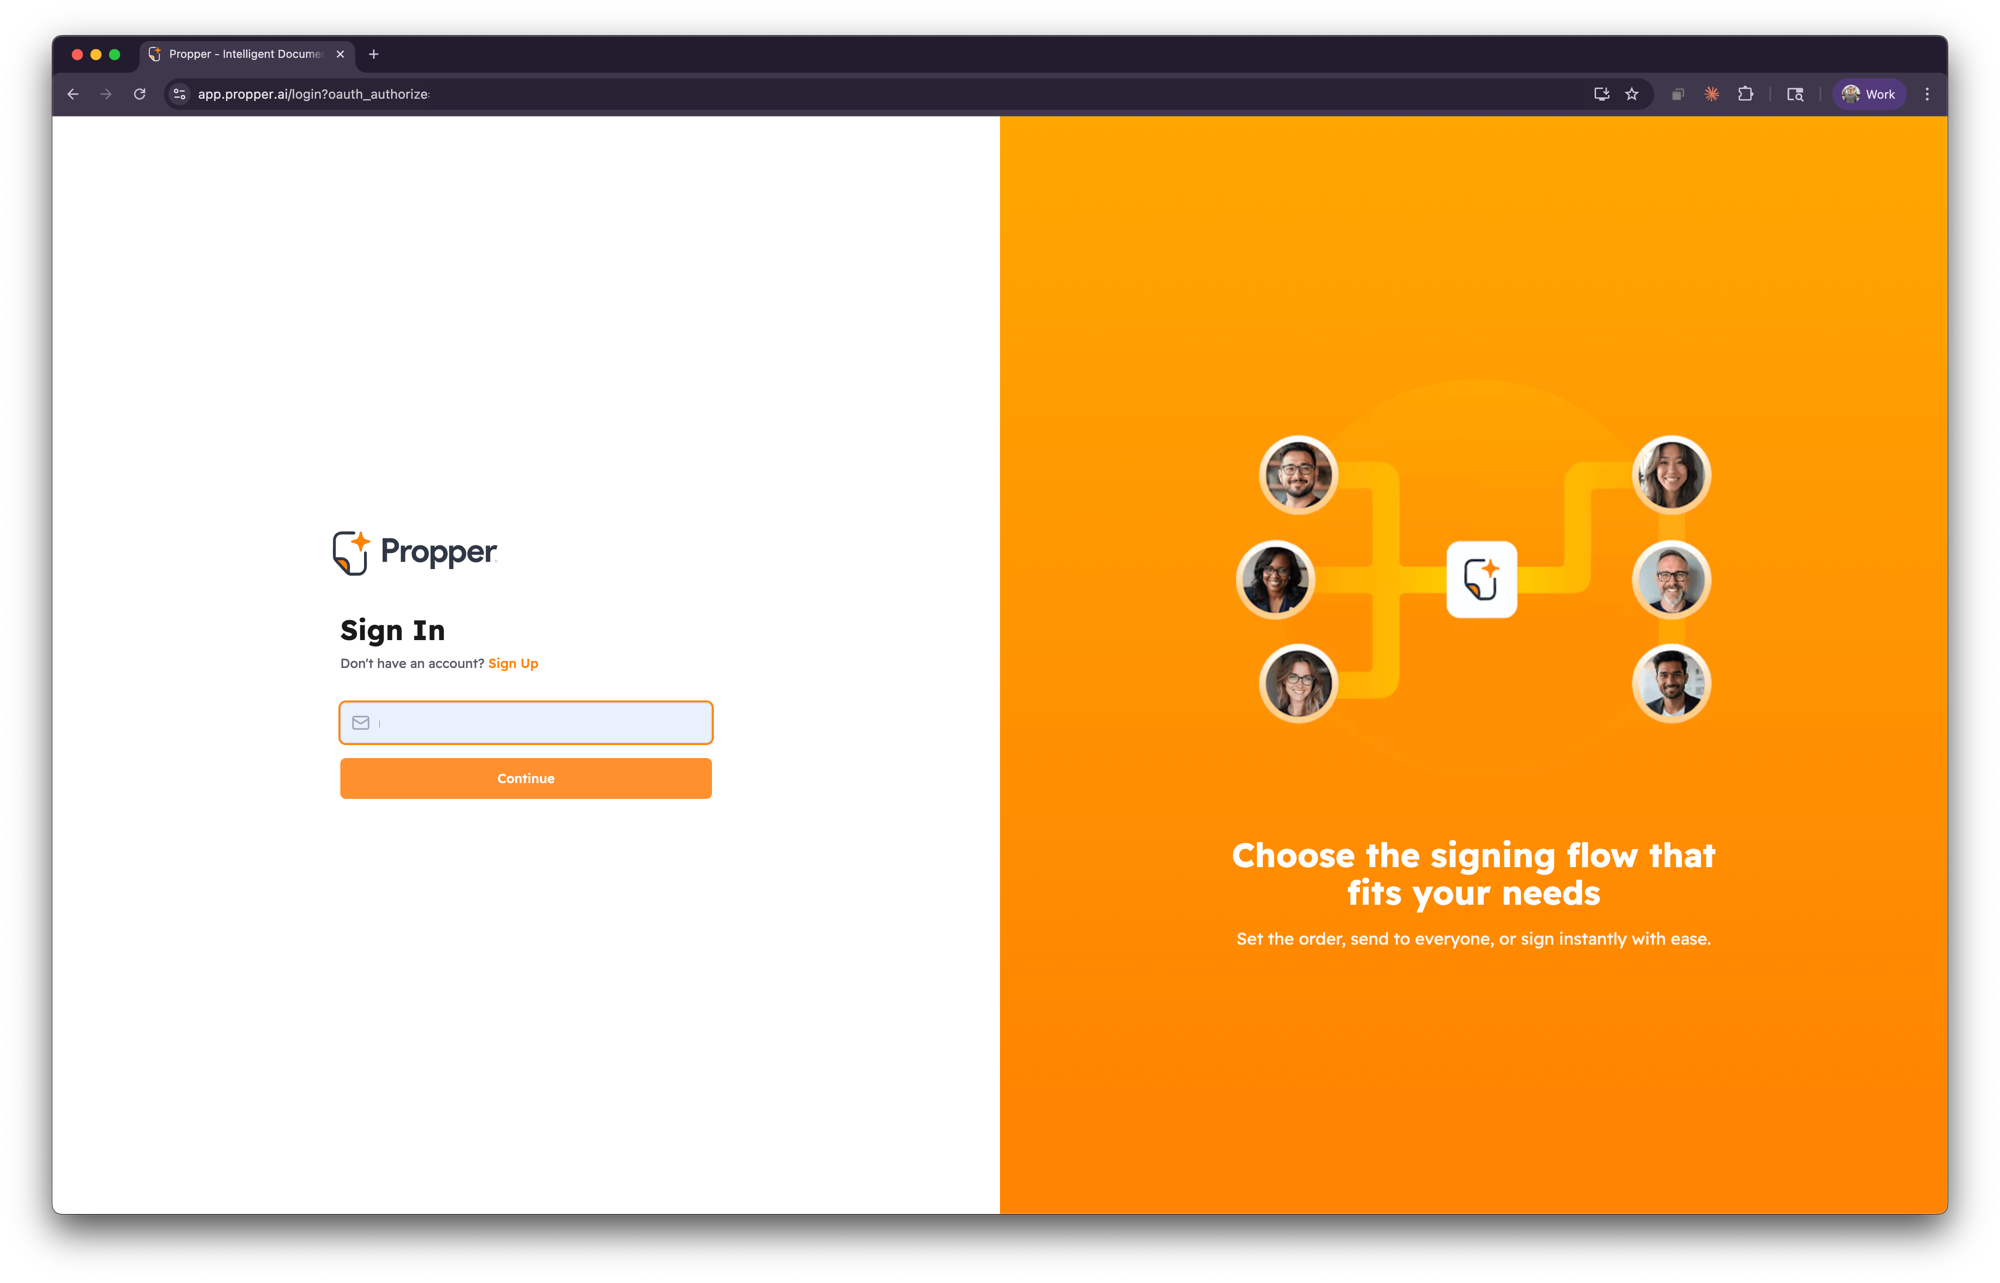
- You'll be redirected to the Propper sign-in page. Enter your email and sign in.
-
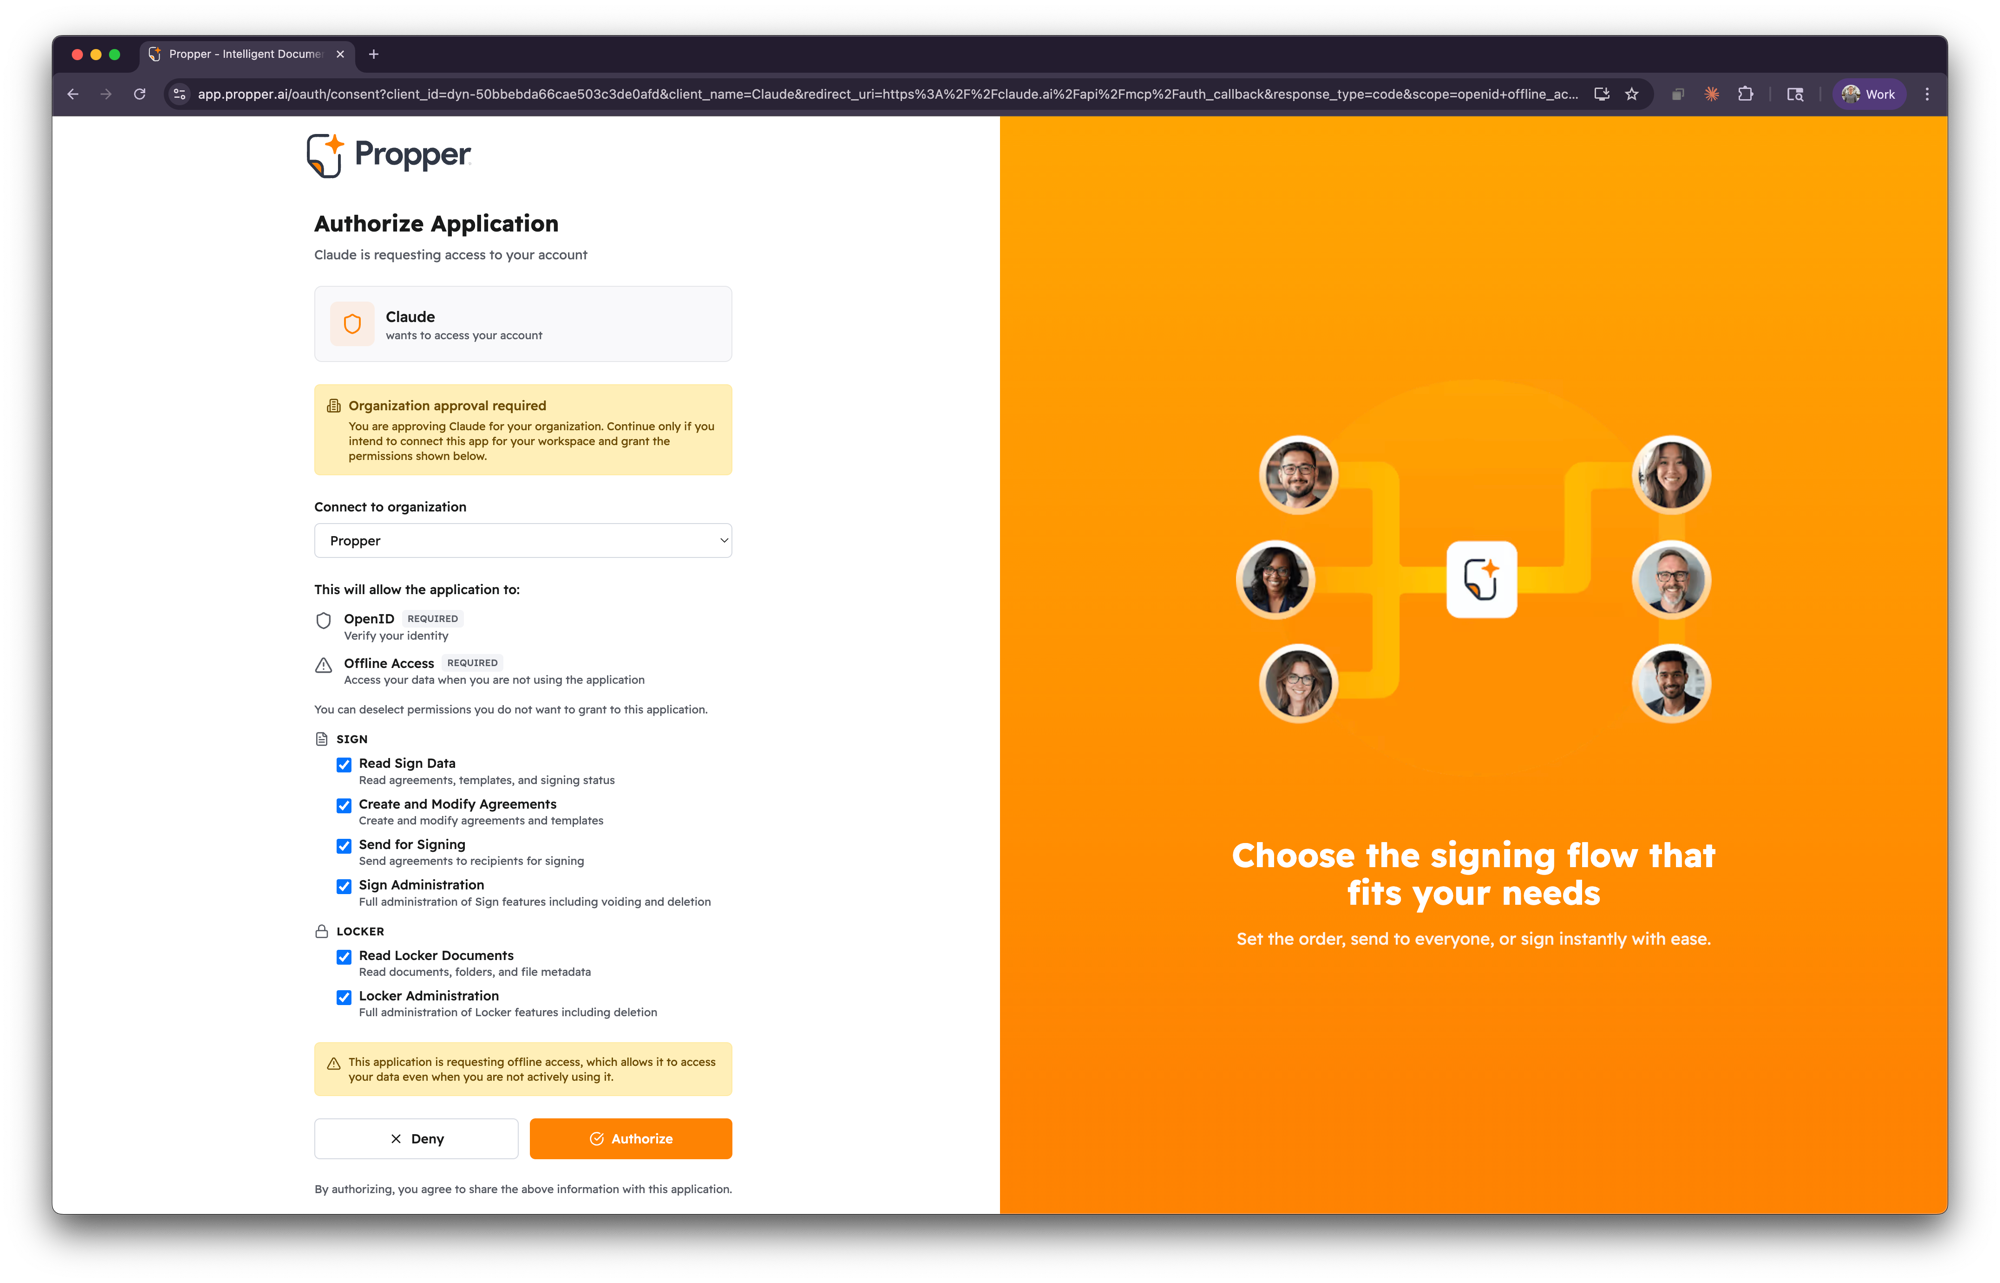
Review the permissions that Claude is requesting. These include:
- OpenID — Verify your identity
- Offline Access — Maintain the connection when you're not actively using Claude
- Sign — Read sign data, create and modify agreements, send for signing, and sign administration
- Locker — Read locker documents and locker administration
Select your organization from the dropdown, then click Authorize.
- You'll see a confirmation that the connection was successful. You'll be redirected back to Claude automatically.

Step 3: Start using Propper in Claude
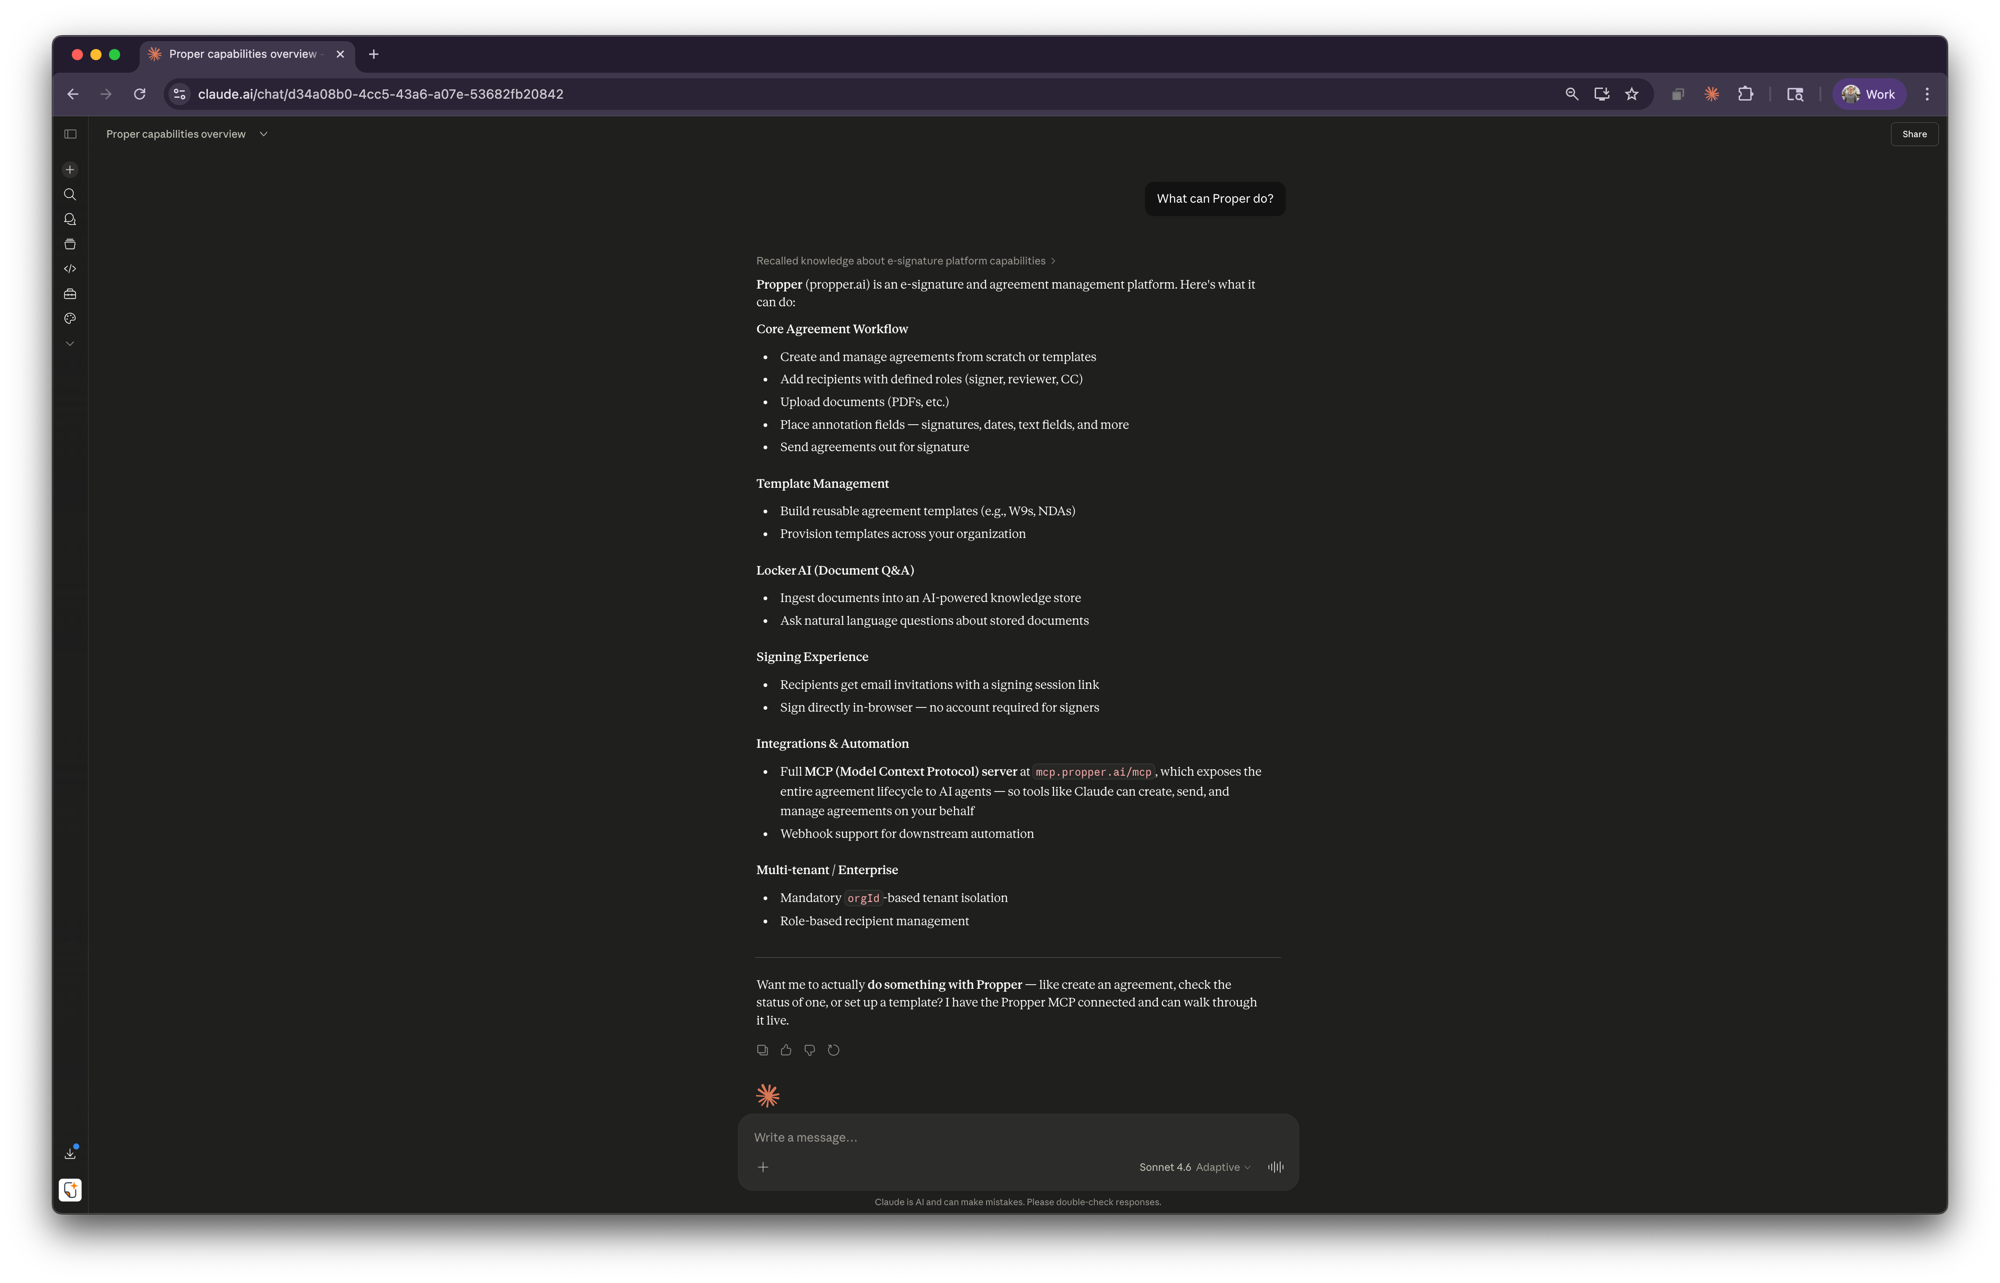
Once connected, Claude can access your Propper workspace directly. Try asking Claude things like:
- "What can Propper do?"
- "Create a new NDA agreement"
- "List my recent agreements"
- "Search my Locker for contracts mentioning renewal"
- "Send this agreement to john@example.com for signing"
Troubleshooting
I don't see the Propper connector in my settings
Your Claude organization admin needs to add the Propper custom connector first. See Step 1.
The authorization page shows an error
Make sure you're signing in with an email address that belongs to an active Propper organization. If your organization uses SSO, sign in through your SSO provider.
Claude says it can't access Propper
Try disconnecting and reconnecting the Propper connector in Settings > Connectors. If the issue persists, check that your Propper account has the necessary permissions for the actions you're requesting.