Recipient Roles
When you build a template, you define roles rather than specific people, placeholders like "Hiring Manager" or "New Employee." When you send an agreement, you fill those roles with real names and email addresses.
This page covers the available role types, how to control signing order, and common workflow patterns.
Role Types
| Role | What it means |
|---|---|
| Signer | Must complete all required fields assigned to them. The agreement can't finalize until every signer finishes. |
| Receives a Copy | Gets the completed document by email. No action needed during signing. Use this for stakeholders who need visibility, HR, finance, legal. |
| In-Person Signer | Signs on a device you're hosting, face-to-face. Use this when the signer doesn't have their own device or email. |
Additional roles exist for specialized legal workflows (Witness, Notary, Approver). Contact support if your workflow requires one of these.
Controlling Signing Order
The routing order number on each role determines when that person receives their invitation. → See Signing Order for full setup instructions when sending.
One at a time (sequential): Give each role a different number. Each person is notified only after the person before them finishes.
1 → HR Manager signs first
2 → New Employee signs after HR Manager completes
3 → HR Records receives a copy once both are done
At the same time (parallel): Give multiple roles the same number. Everyone in that step is notified simultaneously.
1 → Procurement Manager  ┐ both sign at the same time
1 → Legal Reviewer       ┘
2 → Vendor Representative signs once both step-1 signers are done
3 → Finance receives a copy
You can mix both approaches in the same template, for example, two people sign in parallel at step 1, then a third person signs at step 2 once both are done.
Common Workflow Patterns
Employment agreement
1 → HR Manager (Signer)
2 → New Employee (Signer)
3 → HR Records (Receives a Copy)
Vendor contract with parallel review
1 → Procurement Manager (Signer, parallel)
1 → Legal Reviewer (Signer, parallel)
2 → Vendor Representative (Signer)
3 → Finance (Receives a Copy)
Simple two-party agreement
1 → Party A (Signer)
2 → Party B (Signer)
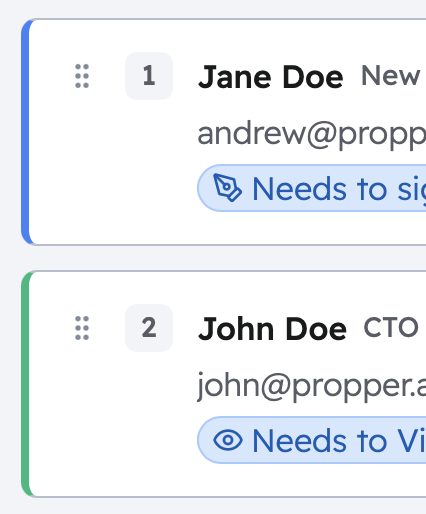
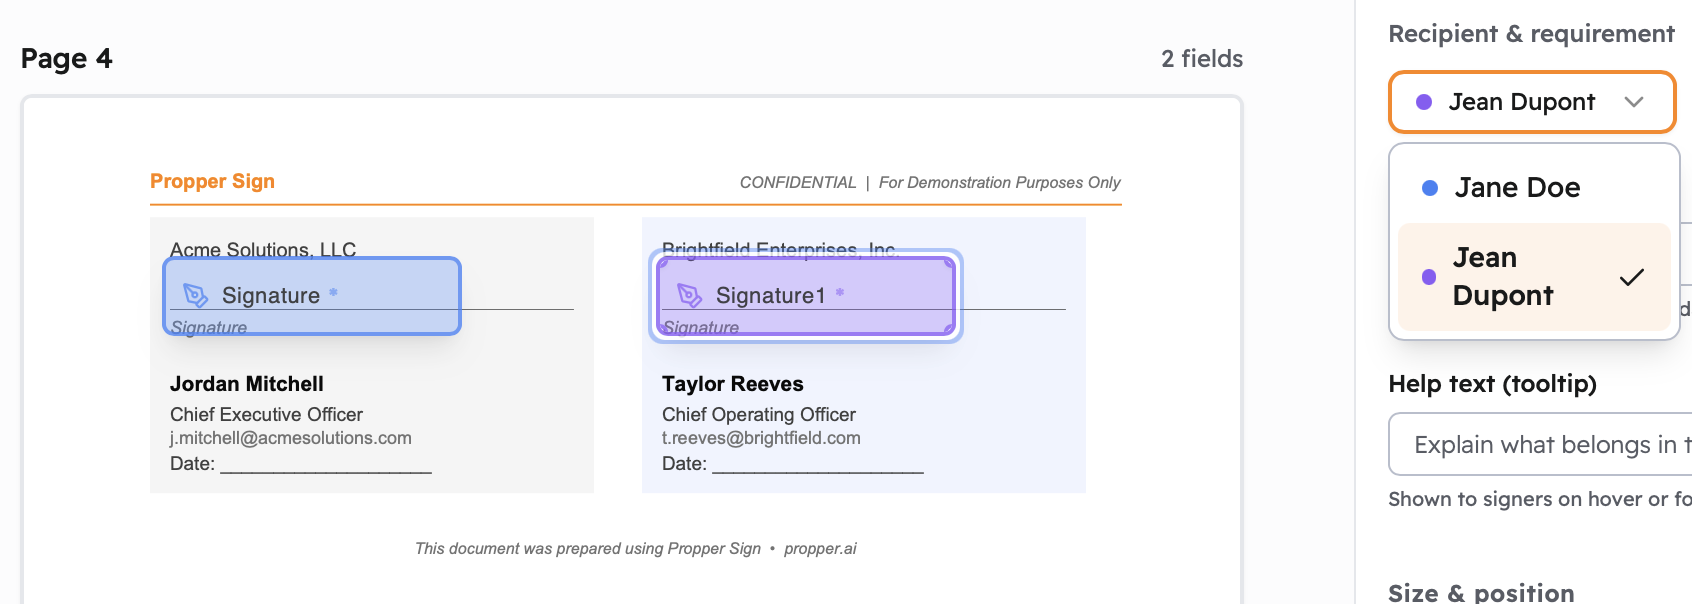
Color Coding
The template editor color-codes each role so you can easily see which tags belong to which person. Colors appear on tag borders, role tabs, and the recipient list.
| Role position | Color |
|---|---|
| Role 1 | Blue |
| Role 2 | Amber |
| Role 3 | Green |
| Role 4 | Purple |
| Role 5 | Red |
A Few Practical Tips
- Put approvers before signers, route any internal review step first so signers see the final, approved version.
- Put "Receives a Copy" roles last, they should receive the completed document, so assign them the highest routing order number.
- Test before going live, send a test agreement with your own email in every role to confirm each invitation arrives in the right order.
Next Steps
- Creating Templates: build a template with roles configured
- Tag Types: what each tag type captures
- Sending Agreements: assign real people to roles at send time